Lord Harkon stands as one of Skyrim’s most memorable antagonists, a pure-blooded vampire with the power to transform into a Vampire Lord and the ambition to permanently extinguish the sun. Whether you’re siding with the Dawnguard or considering his dark offer, understanding Harkon’s motivations, combat mechanics, and the choices surrounding him is essential for navigating the Dawnguard DLC.
This guide breaks down everything you need to know about Harkon: his backstory and role in the questline, the critical choice at Castle Volkihar, his apocalyptic plan involving Auriel’s Bow, and a detailed strategy for the final boss fight. You’ll also find loadout recommendations, bug workarounds, and an overview of what happens if you side with his vampire clan instead of destroying him.
Table of Contents
ToggleKey Takeaways
- Lord Harkon in Skyrim is the primary antagonist of the Dawnguard DLC, an ancient pure-blooded vampire lord seeking to permanently extinguish the sun using Auriel’s Bow and the prophecy of eternal night.
- The pivotal choice to accept or refuse Harkon’s gift of Vampire Lord blood determines your initial faction alignment, but both the Dawnguard and vampire paths ultimately lead to a confrontation with him as the final boss.
- Harkon’s multi-phase boss fight requires destroying blood altars during his invulnerability stages and managing Gargoyle summons while dealing with Vampiric Drain and frost magic attacks.
- Effective preparation includes stacking Magic Resistance and Frost Resistance to 80%+, bringing 10–15 potions, and equipping weapons like Auriel’s Bow with Sunhallowed Arrows or Dawnbreaker for optimal undead damage.
- Defeating Harkon yields unique rewards including Harkon’s Sword (triple-absorption enchantment), Royal Vampire Armor, and significant experience, while known bugs like altar invulnerability can be prevented by creating multiple manual saves throughout the questline.
Who Is Harkon in Skyrim?
Harkon’s Role in the Dawnguard Storyline
Lord Harkon serves as the primary antagonist of the Dawnguard DLC, released in 2012. He’s the ancient vampire lord who rules Castle Volkihar and leads the Volkihar Vampire Clan. His daughter, Serana, is central to both the Dawnguard and vampire questlines, and retrieving her from Dimhollow Crypt triggers your first encounter with Harkon.
Harkon’s role shifts depending on your allegiance. If you join the Dawnguard, he becomes your final target. If you accept his gift and join the vampires, he acts as your quest-giver and mentor until the storyline’s conclusion, where conflict becomes inevitable regardless of your initial choice.
The Ancient Vampire Lord’s Origins and Powers
Harkon acquired his vampirism through a pact with Molag Bal, the Daedric Prince of domination and corruption. In exchange for sacrificing a thousand innocents, including members of his own court, Molag Bal granted Harkon, his wife Valerica, and daughter Serana pure vampire blood. This makes them far more powerful than standard vampires or those infected through disease.
As a Vampire Lord, Harkon can transform at will, gaining access to devastating magic attacks, health drain abilities, and summoning powers. His transformation includes a unique model with massive wings and clawed hands. In his human form, he wields expert-level Destruction magic and can still hold his own in combat, though he reserves his full power for the final confrontation.
Meeting Harkon: Your First Encounter at Castle Volkihar
How to Reach Castle Volkihar
After rescuing Serana from Dimhollow Crypt during the “Awakening” quest, she’ll ask you to escort her home to Castle Volkihar. The castle is located on a secluded island northwest of Solitude, accessible only by boat or swimming (though fast travel unlocks after your first visit).
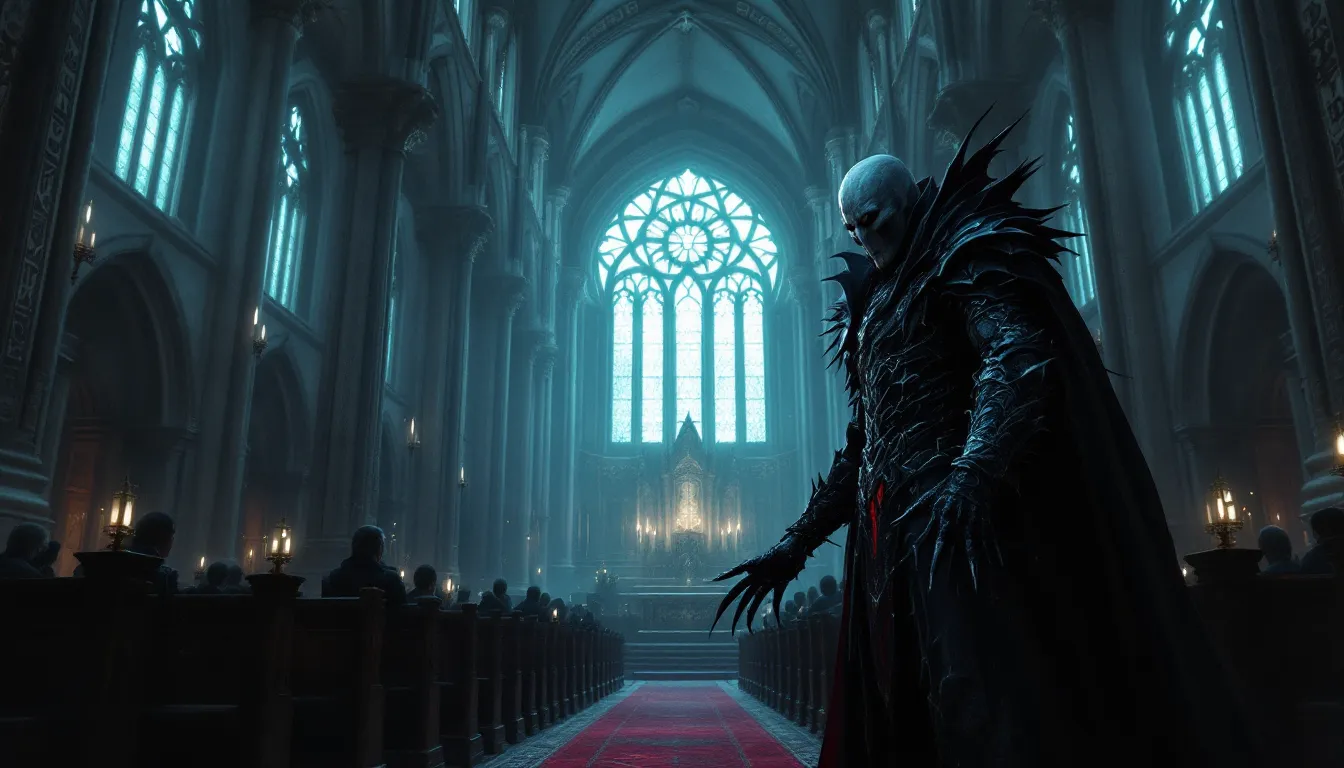
Serana leads you through the castle’s courtyard, past her clan’s thralls and vampire guards, directly to the cathedral where Harkon holds court. The atmosphere is immediately hostile if you’re not a vampire, guards watch carefully, and the architecture reflects centuries of dark rituals and blood magic.
The Choice: Accept or Refuse Harkon’s Gift
Upon meeting Harkon, he thanks you for returning Serana and offers you Vampire Lord blood as a reward. This is one of the DLC’s pivotal choices:
Accepting Harkon’s gift:
- Immediately transforms you into a Vampire Lord
- Unlocks the Vampire Lord perk tree and transformation ability
- Grants access to the vampire-side questline
- Makes you hostile to the Dawnguard faction
- Can still be cured later at any time through Falion in Morthal
Refusing Harkon’s gift:
- Harkon shows visible displeasure but allows you to leave peacefully
- You’re directed to join the Dawnguard at Fort Dawnguard
- Locks you into the Dawnguard questline
- Castle Volkihar becomes hostile territory
- You can still become a Vampire Lord later by asking Serana to turn you
The choice isn’t permanent in terms of vampirism, you can cure and re-contract it multiple times throughout the game. But, it does determine which faction questline you’ll follow initially.
Understanding Harkon’s Plan to Blot Out the Sun
The Tyranny of the Sun Prophecy Explained
Harkon’s ultimate goal revolves around the Tyranny of the Sun prophecy, an ancient text that describes a ritual to permanently extinguish the sun. For vampires, sunlight represents the ultimate weakness, reducing health, magicka, and stamina regeneration to zero and preventing Vampire Lord transformations during daylight hours.
The prophecy states that when a “Daughter of Coldharbour” (a female vampire infected directly by Molag Bal) uses Auriel’s Bow to shoot Sunhallowed Arrows at the sun, eternal night will fall across Tamriel. Serana is one of only two known Daughters of Coldharbour alive, making her blood essential to the ritual.
Harkon’s obsession with this prophecy drove his wife Valerica to flee with both Serana and an Elder Scroll, hiding in the Soul Cairn to prevent him from completing the ritual. The entire Dawnguard storyline centers on Harkon’s attempts to reunite the necessary components.
Why Harkon Needs Auriel’s Bow and the Elder Scrolls
Auriel’s Bow is an ancient artifact created by the Aldmeri god Auri-El (the elven aspect of Akatosh). The bow possesses unique properties when firing specialized arrows, Sunhallowed Arrows create explosive sunlight damage, while Bloodcursed Arrows (crafted with Serana’s blood) can blot out the sun temporarily.
The Elder Scrolls serve as the roadmap. One scroll reveals the location of Auriel’s Bow, hidden in the Forgotten Vale within the Chantry of Auri-El. Another provides details about the prophecy itself. Without these scrolls, Harkon has no way to locate the bow or understand the ritual’s exact requirements.
Harkon’s plan represents an existential threat not just to humanity but to Tamriel’s natural order. Many game walkthroughs emphasize the apocalyptic stakes of letting Harkon succeed, as permanent darkness would fundamentally alter the world’s ecosystem and power balance.
Preparing for the Final Battle Against Harkon
Recommended Level, Skills, and Equipment
The Harkon boss fight triggers at the end of “Kindred Judgment,” typically when players are level 30-40. While theoretically possible at lower levels, Harkon hits hard and has substantial health pools in both forms.
Skill priorities:
- One-Handed or Two-Handed (60+): For physical damage dealers
- Destruction (50+): Fire spells deal bonus damage to vampires
- Restoration (40+): Healing and anti-undead spells like Turn Undead
- Block or Light Armor (50+): Survivability against magic attacks
- Enchanting (60+): For optimizing gear resistances
Armor considerations:
- Heavy armor provides better physical defense but slows movement
- Light armor works well for mages and archers who need mobility
- The Dawnguard Heavy Armor set provides excellent vampire resistance
- Vampire players should wear armor with Magicka and Health enchantments
Best Weapons and Spells for Vampire Lords
Harkon is classified as undead, making certain damage types more effective:
Top weapon choices:
- Auriel’s Bow with Sunhallowed Arrows: Massive bonus damage to undead, explosion effect
- Dawnbreaker: Unique one-handed sword that explodes undead on kill
- Dawnguard Rune Axe: Absorbs 15 points of health from undead
- Dragonbone weapons: Highest base damage in vanilla game
- Enhanced Crossbows: Ignore 50% of armor, rapid fire capability
Effective spells:
- Sun Fire / Vampire’s Bane: Destruction spells dealing 25-100 sun damage
- Guardian Circle: Master-level Restoration creates a protective zone
- Lightning Storm: Continuous beam deals consistent damage
- Close Wounds / Grand Healing: Essential for survival
- Paralyze: Can interrupt Harkon’s casting and transformations
Many players consulting build guides find that hybrid builds combining ranged and melee options perform best, as Harkon frequently changes distance and form.
Essential Potions, Enchantments, and Resistances
Potions to bring (at least 10-15 total):
- Potions of Healing (preferably 100+ health restoration)
- Potions of Magicka (if using destruction magic heavily)
- Potions of Resist Magic (25-50% reduction)
- Potions of Resist Frost (Harkon uses ice magic)
- Potions of Ultimate Healing or Ultimate Magicka for emergencies
Critical enchantments:
- Magic Resistance: Cap at 85% (the maximum effective resistance)
- Frost Resistance: Stack to 80%+ alongside magic resistance
- Fortify Health: Additional 60-100 HP helps survive burst damage
- Fortify Destruction/One-Handed: Increases your damage output
- Health Regeneration: Passive healing between potion cooldowns
Resistance breakdown:
Harkon primarily uses Frost magic and Drain Life attacks. Stacking both Magic Resistance and Frost Resistance creates the best defense. The Atronach Stone (50% spell absorption) or Lord Stone (+50 damage resistance, 25% magic resistance) both work well. Bretons start with 25% magic resistance, giving them a natural advantage.
How to Defeat Harkon: Complete Boss Fight Strategy
Phase-by-Phase Combat Breakdown
The Harkon fight takes place in Castle Volkihar’s cathedral and progresses through distinct phases:
Phase 1 – Human Form (0-100% to ~70% health):
Harkon starts in human form, casting Destruction spells and summoning Gargoyles. This phase is relatively straightforward, maintain distance if you’re ranged, close quickly if melee. Focus fire on Harkon while avoiding his frost projectiles.
Phase 2 – First Vampire Lord Transformation (~70% to ~40% health):
When Harkon reaches approximately 70% health, he transforms into Vampire Lord form and becomes invulnerable. He’ll fly to one of the cathedral’s blood altars scattered around the room. You must find and attack the altar he’s drawing power from, it glows red and pulses with energy.
Destroying the altar forces Harkon to become vulnerable again. He’ll attack with Vampiric Drain, a continuous beam that damages you while healing him. Strafe constantly and use pillars for cover.
Phase 3 – Second Invulnerability (~40% to ~20% health):
Harkon repeats the invulnerability mechanic, flying to another blood altar. The cathedral has three total altars, positioned at different points around the circular room. Locate and destroy the active altar quickly to minimize the time he’s invincible.
During this phase, he summons additional Gargoyles and uses Blood Magic AoE attacks that create pools of damaging energy on the ground.
Phase 4 – Final Stand (20% to 0% health):
After the second altar is destroyed, Harkon becomes permanently vulnerable. He uses his full arsenal: Vampiric Drain, frost spells, teleportation, and melee swipes in Vampire Lord form. This is a DPS race, burn through his remaining health while managing your resources carefully.
Dealing with Harkon’s Vampire Lord Transformations
When Harkon transforms, his attack pattern changes significantly:
Vampire Lord abilities:
- Vampiric Drain: Continuous channeled beam, ~40-60 damage per second
- Raise Dead: Summons thralls from corpses in the area
- Mist Form: Briefly becomes invulnerable and repositions
- Claw Swipes: Melee attacks if you’re close, 60-80 damage each
Counter strategies:
- Never stand still, his drain tracks slowly, making strafing effective
- Use pillars and cathedral architecture to break line of sight
- If you’re also a Vampire Lord, match his transformation for mobility
- Ranged attackers should maintain maximum distance
- Melee fighters need high stamina for power attacks and dodging
Managing Gargoyles and Blood Magic Attacks
Gargoyles appear in waves throughout the fight, usually 2-3 at a time. They’re heavily armored but relatively slow.
Gargoyle tactics:
- Kill them quickly before focusing Harkon, they’ll overwhelm you if ignored
- Use AoE spells like Fireball if you’re facing multiple
- Their stone skin reduces physical damage: magic works better
- They’re vulnerable to paralysis and ice form shouts
Blood Magic AoE attacks:
Harkon creates red pools of energy on the ground that deal continuous damage. These appear randomly during phases 3 and 4. Simply move out of the marked area before they detonate. The warning is visual, red circles or patterns appear 1-2 seconds before the damage triggers.
Using Auriel’s Bow During the Fight
While Auriel’s Bow isn’t required to damage Harkon, it’s incredibly effective. Equip Sunhallowed Arrows (not Bloodcursed) for maximum damage.
Auriel’s Bow advantages:
- Each hit deals 20 base damage plus 60 sun damage to undead
- Creates explosive AoE that damages nearby Gargoyles
- Staggers Harkon, interrupting his channeled abilities
- Can be used while moving, unlike some spells
Aim for center mass, the bow’s sun damage triggers automatically on hit. Save your highest-damage power attacks or spells for when Harkon is vulnerable between altar phases.
Rewards and Consequences of Defeating Harkon
Loot, Experience, and Unique Items
Defeating Harkon yields several valuable rewards:
Harkon’s inventory:
- Harkon’s Sword: Unique weapon, absorbs 15 health, 10 magicka, and 10 stamina per hit
- Royal Vampire Armor: Light armor chest piece, 15% Resist Magic enchantment
- Leveled gold (typically 1,000-2,000 septims)
- Vampire Dust (alchemical ingredient)
- Random potions and soul gems
Quest completion rewards:
- Base experience: Significant XP for completing “Kindred Judgment”
- Skill experience: From combat during the fight itself
- Access to Fort Dawnguard’s merchants and trainers (if Dawnguard-aligned)
- Ability to recruit Armored Trolls as followers (Dawnguard faction)
Harkon’s Sword is particularly notable for its triple-absorption enchantment, which can’t be replicated through normal enchanting. It’s effective against all enemy types, not just undead.
What Happens to Castle Volkihar After Harkon’s Death
If you sided with the Dawnguard, Castle Volkihar becomes accessible but remains populated by hostile vampires. You can return to clear out remaining clan members and loot the castle’s treasures, including:
- The Alchemy Lab with rare ingredients
- Multiple Skill Books scattered throughout
- The Royal Vampire Armor set pieces on various NPCs
- Access to Valerica (who can be convinced to return from the Soul Cairn)
If you sided with the vampires (discussed in the next section), the castle becomes your headquarters. Serana remains a permanent follower option, and you gain access to vampire-specific merchants and blood potions.
The Dawnguard DLC concludes with Harkon’s death regardless of which faction you chose, though the specific dialogue and aftermath scenes differ. Serana will always survive and can continue as a follower, though her attitude toward you may vary based on your choices throughout the questline.
Playing as a Vampire: Siding with Harkon’s Clan
Benefits of Joining the Volkihar Vampire Clan
Accepting Harkon’s initial gift and joining the vampires provides a different gameplay experience:
Vampire-side advantages:
- Vampire Lord transformation: Access to the unique skill tree and abilities
- Ring of the Erudite: +100 Magicka, faster Magicka regen (vampire-exclusive reward)
- Castle Volkihar base: Safe haven with alchemy, enchanting, and merchant access
- Bloodstone Chalice quests: Repeatable radiant quests for vampire perks
- Necromantic powers: Raise thralls, summon gargoyles, turn into mist
Vampire Lord perk tree highlights:
- Power of the Grave: +50 health, magicka, and stamina as Vampire Lord
- Detect All Creatures: See living beings through walls
- Mist Form: Become invulnerable and ethereal temporarily
- Supernatural Reflexes: Slow time while in melee range
The vampire path emphasizes stealth, magic, and necromancy. It’s particularly strong for mage builds and players who enjoy non-traditional combat approaches. Community resources on modding guides also offer extensive vampire gameplay enhancements.
Alternative Questline and Vampire Lord Powers
The vampire questline follows a parallel structure to Dawnguard:
Key vampire quests:
- Bloodline: Accept Harkon’s gift and join the clan
- The Bloodstone Chalice: Retrieve an artifact for Harkon
- Prophet: Find a Moth Priest, same as Dawnguard version
- Chasing Echoes: Enter the Soul Cairn with Serana
- Destroying the Dawnguard: Final assault on Fort Dawnguard
The critical difference is that instead of fighting Harkon, you attack Fort Dawnguard in the finale. But, a late-game twist still forces conflict with Harkon, even on the vampire path, he eventually becomes hostile when you refuse to force Serana’s cooperation with the prophecy.
This means regardless of faction choice, Harkon eventually serves as the DLC’s final boss. The vampire route simply delays this confrontation and provides different context. The fight mechanics remain identical whether you’re Dawnguard or vampire-aligned.
Common Mistakes and Troubleshooting Tips
Bugs and Glitches in the Harkon Fight
The Harkon encounter has several known issues across platforms:
Common bugs:
- Altar won’t activate: Sometimes blood altars don’t register hits, making Harkon permanently invulnerable
- Harkon gets stuck in walls: Poor pathfinding can cause him to clip through cathedral geometry
- Gargoyles won’t spawn: Prevents progression if quest scripting expects certain spawn triggers
- Audio loops: Harkon’s voice lines or combat music may repeat endlessly
- Serana becomes hostile: Faction scripting errors can turn your ally against you mid-fight
Platform-specific issues:
- PS3/PS4: Frame rate drops in the cathedral due to particle effects
- Xbox 360/One: Autosave corruption if the fight lasts too long
- PC: Console commands can break quest flags if used improperly
What to Do If Harkon Won’t Take Damage
The invulnerability bug is the most frustrating issue. If Harkon remains immune even though destroying blood altars:
Troubleshooting steps:
- Reload previous save: Always create a manual save before entering the cathedral
- Try different damage types: Switch between physical, fire, and shock damage
- Exit and re-enter the area: Sometimes resets quest flags
- Dismiss followers: They can interfere with altar destruction scripts
- Verify you’re hitting the correct altar: Only one of three glows red at a time
PC console commands (use at own risk):
setessential 000338B 0
This removes Harkon’s essential flag, allowing damage. But, it may break quest completion. Only use if other methods fail.
Alternative solutions:
- Install the Unofficial Skyrim Patch (PC only), which fixes many Dawnguard bugs
- Verify game file integrity through Steam (PC) or reinstall DLC (consoles)
- Check for mod conflicts if running modded game
- Contact Bethesda support for persistent issues on unmodded games
Prevention:
Create multiple save files throughout the Dawnguard questline. The fight’s scripting is complex, and having backups prevents losing hours of progress. Quicksaves alone aren’t sufficient, make manual hard saves before major quest stages.
Conclusion
Harkon represents one of Skyrim’s most ambitious boss encounters, combining lore depth with challenging mechanics. Whether you approach him as a Dawnguard warrior wielding Auriel’s Bow or as a rival Vampire Lord, the fight demands preparation, pattern recognition, and resource management.
The choice to accept or refuse his gift shapes your entire Dawnguard experience, but both paths converge on the same outcome, Harkon’s destruction and the prevention of eternal night. His defeat unlocks powerful unique items, closes a major chapter in Tamriel’s vampire history, and cements your character’s legacy as savior or conqueror.
Master the blood altar mechanics, maintain high resistances, and keep your distance during his Vampire Lord phases. With the right loadout and strategy, Lord Harkon falls, and the sun rises over Skyrim once more.